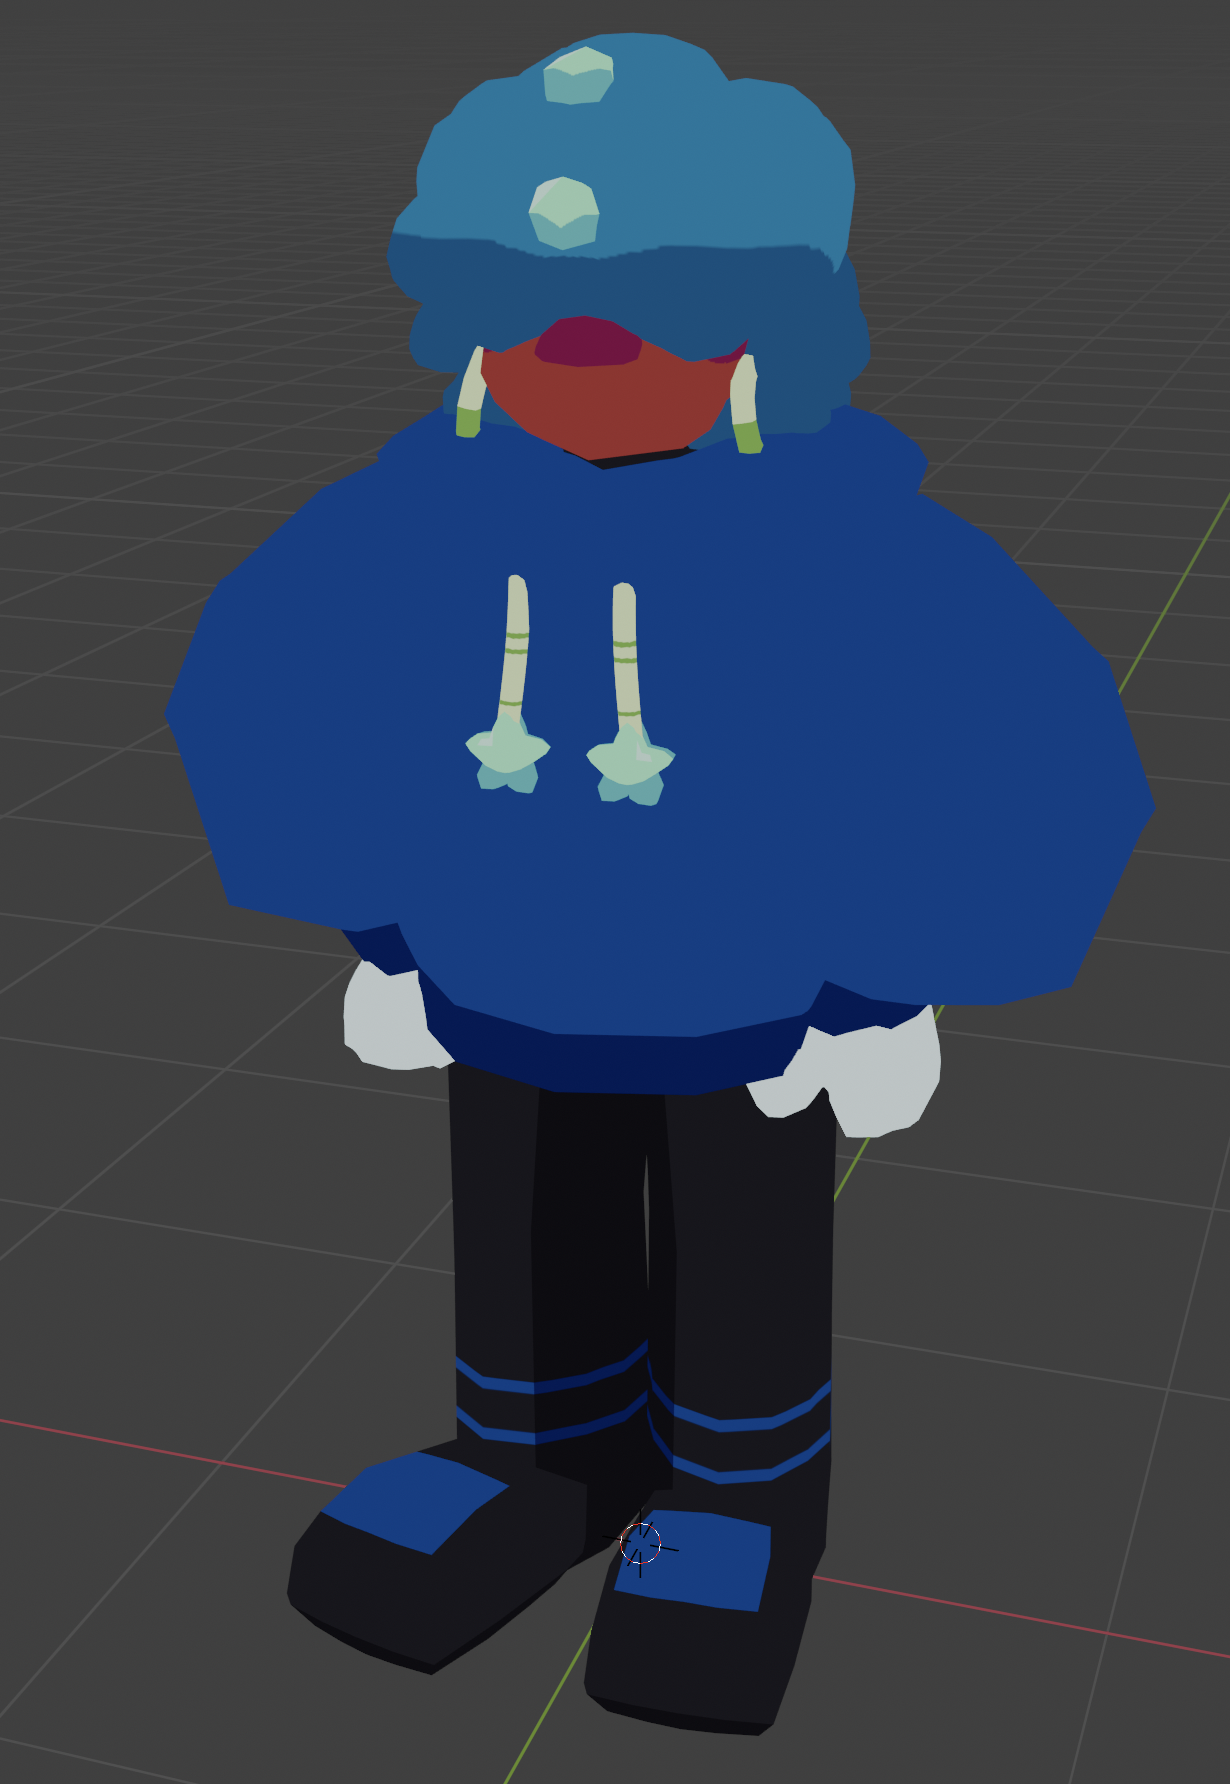
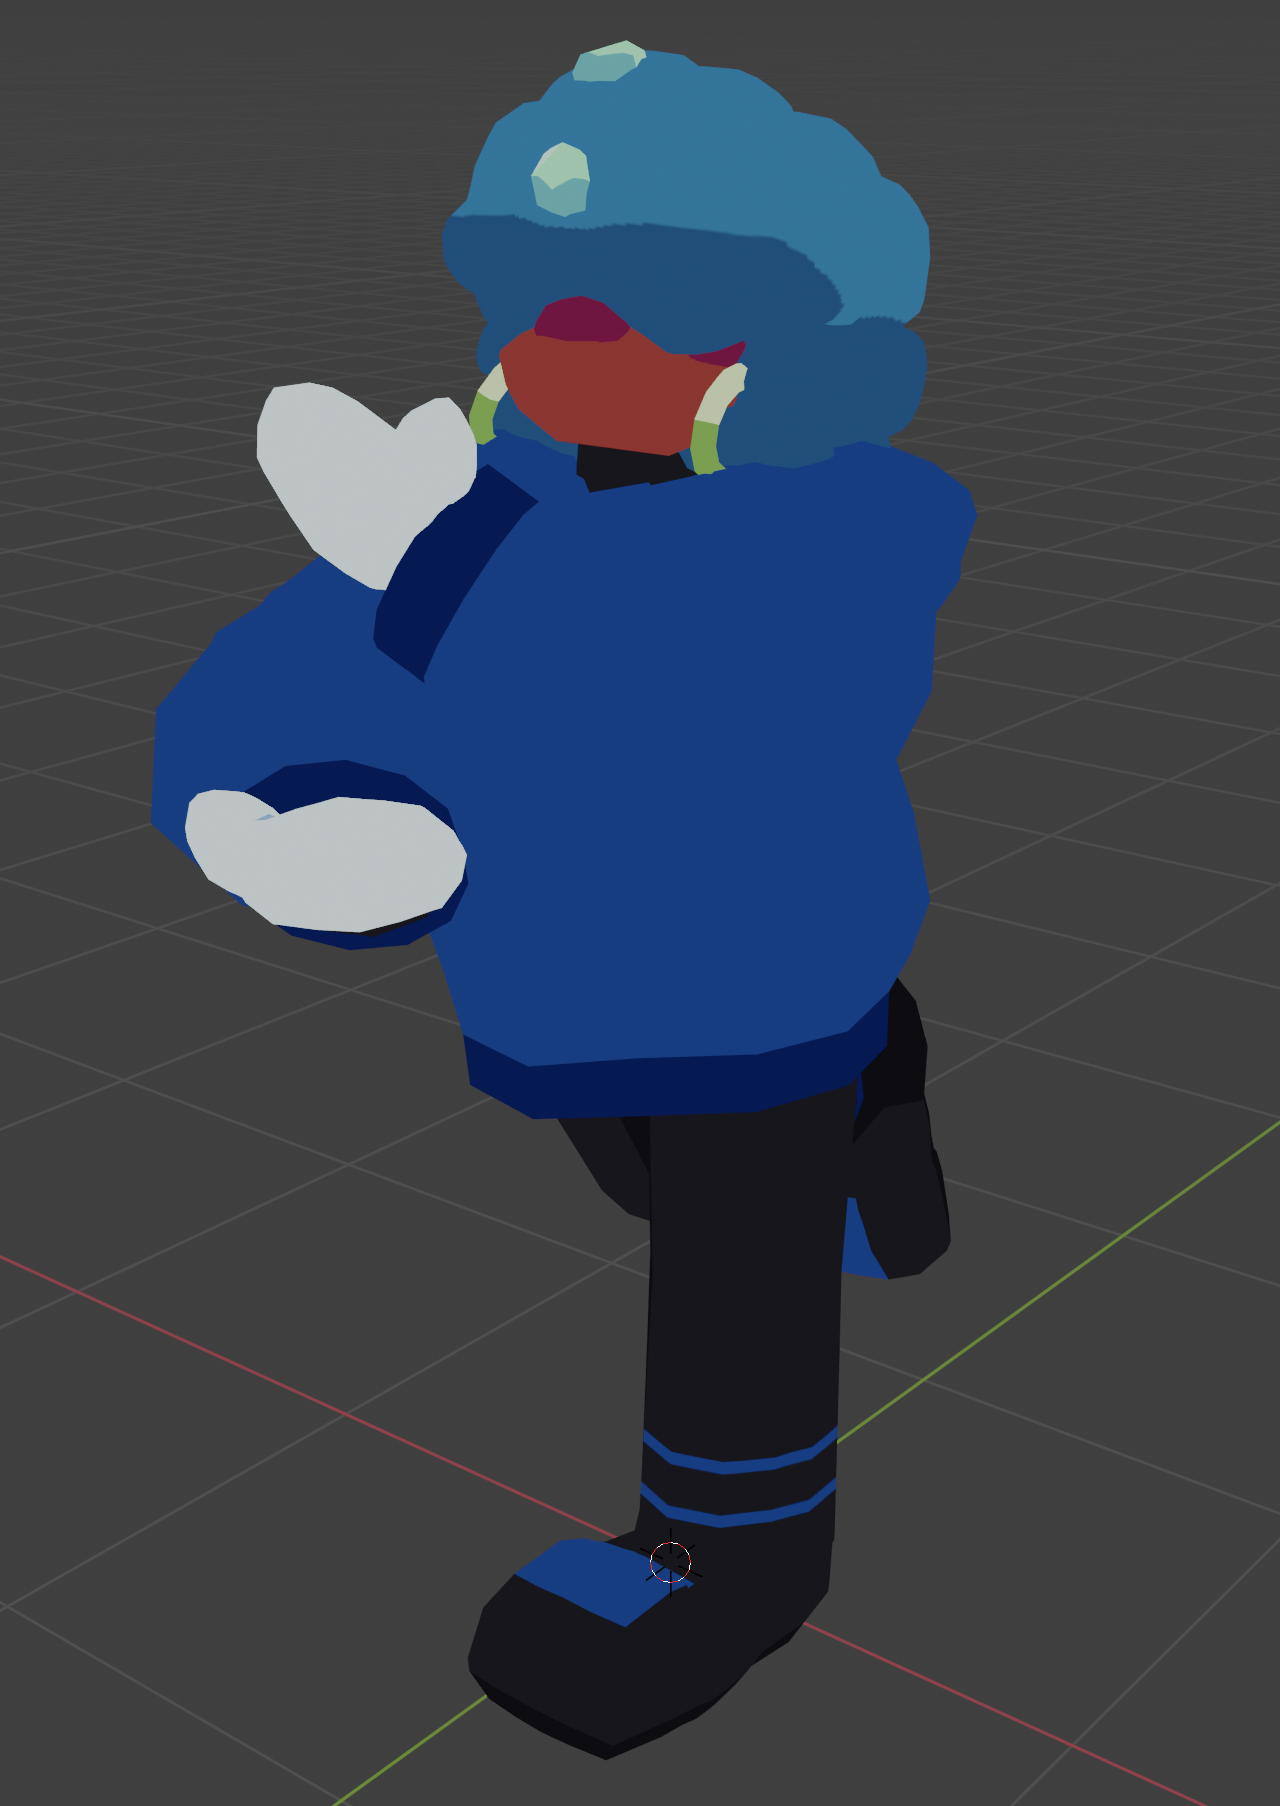
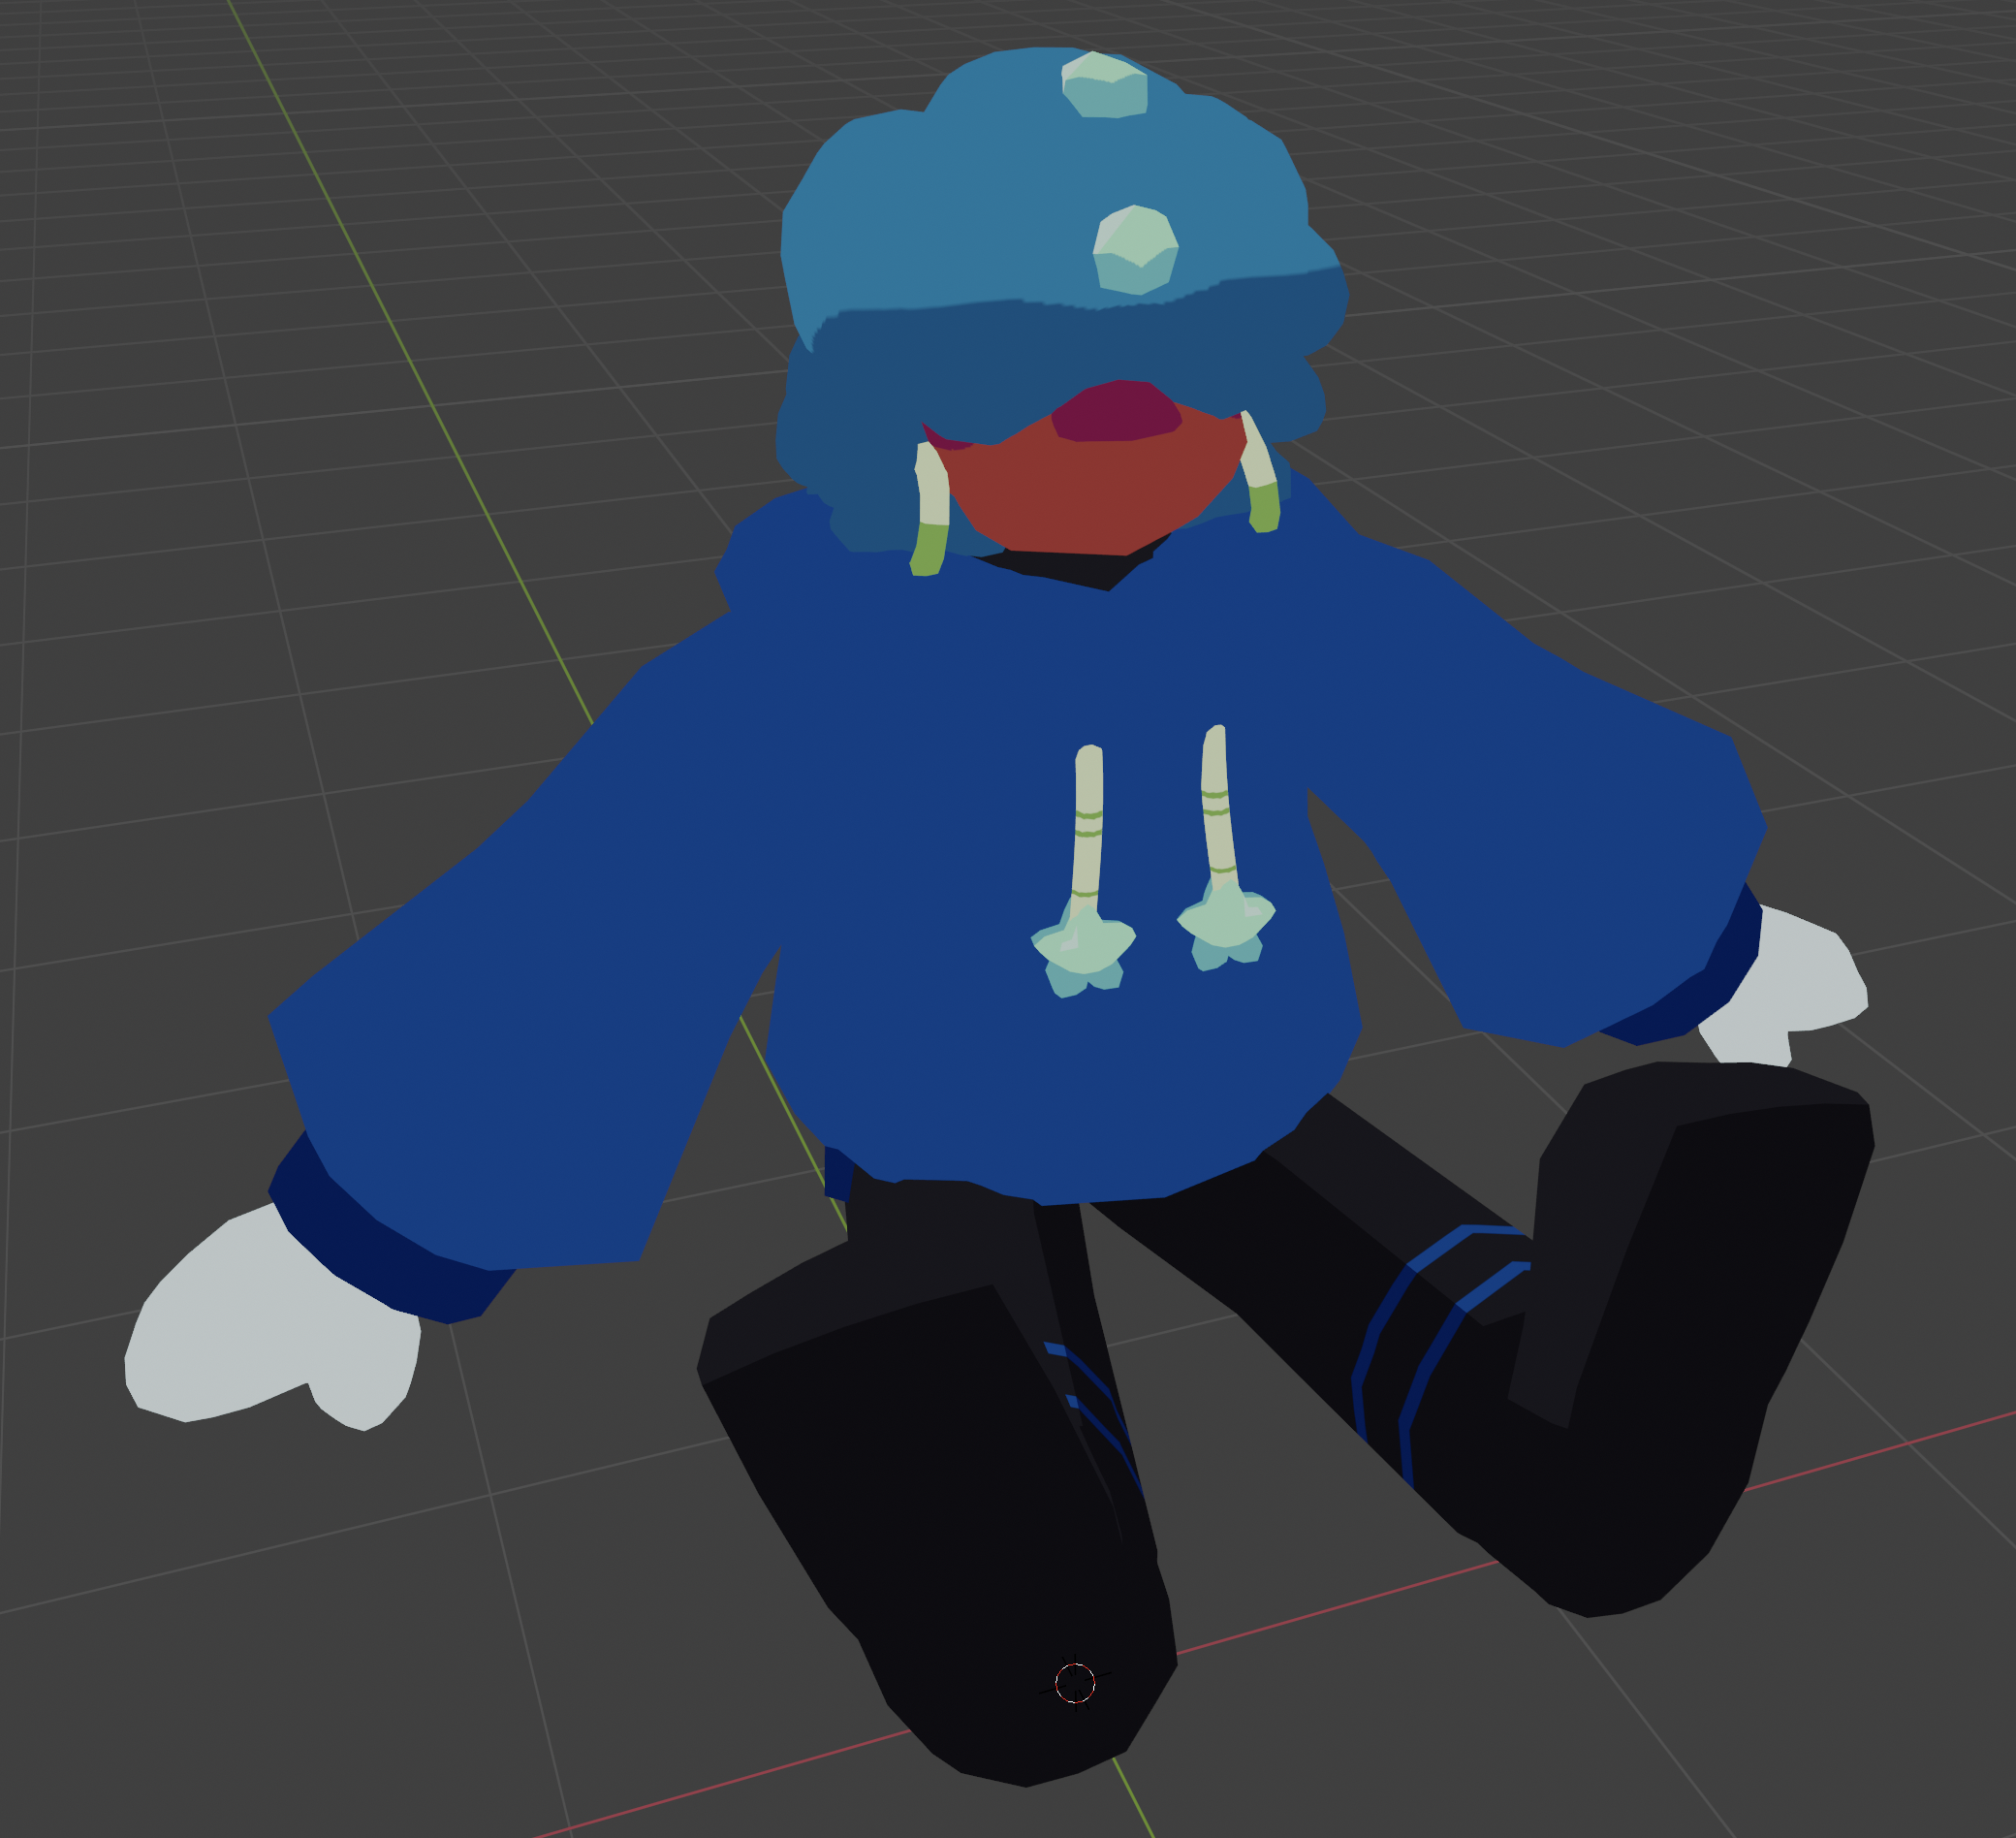
"Pent (Avatar Rig)" - January 2026
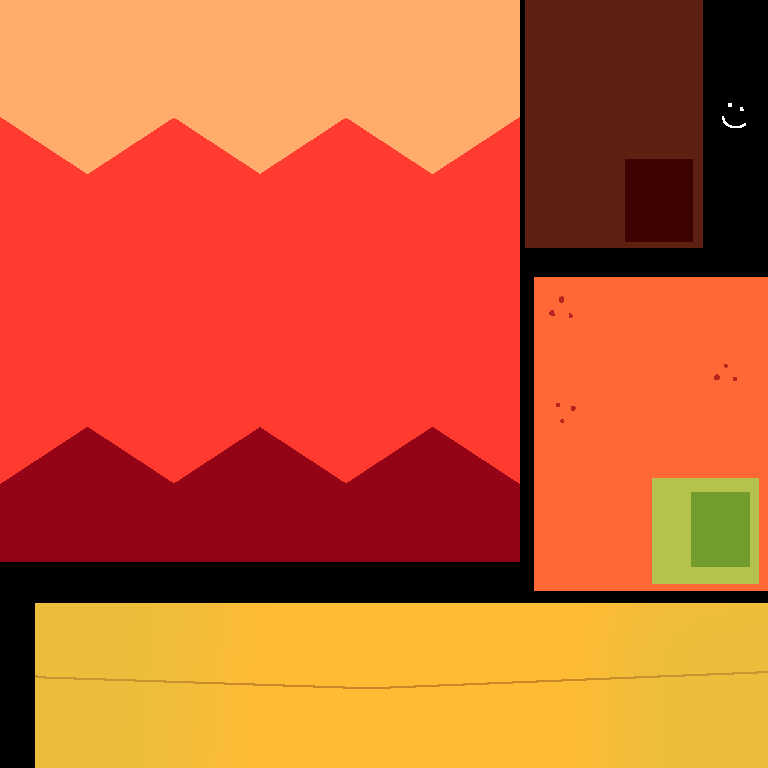
Blender, Unity, custom textures made digitally
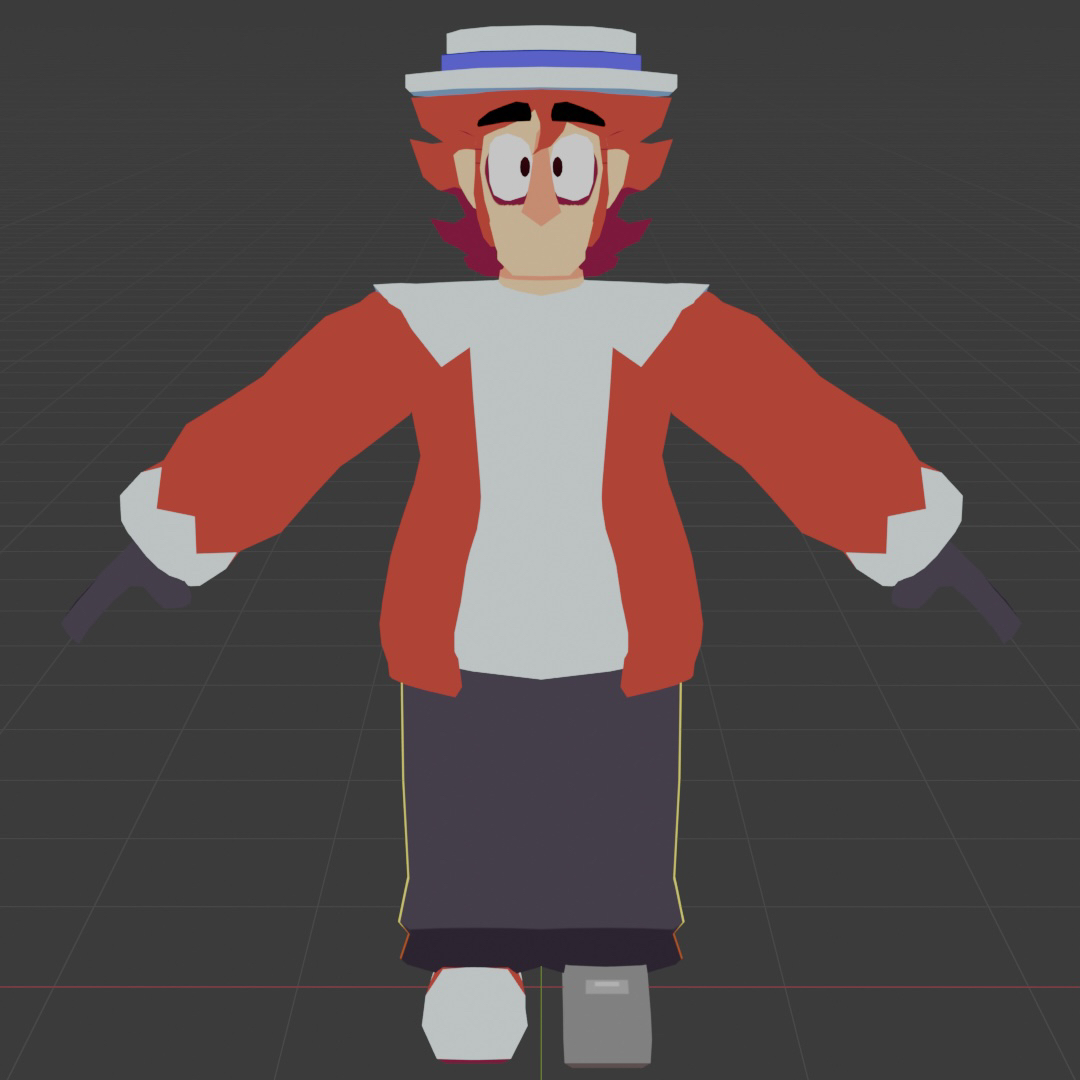
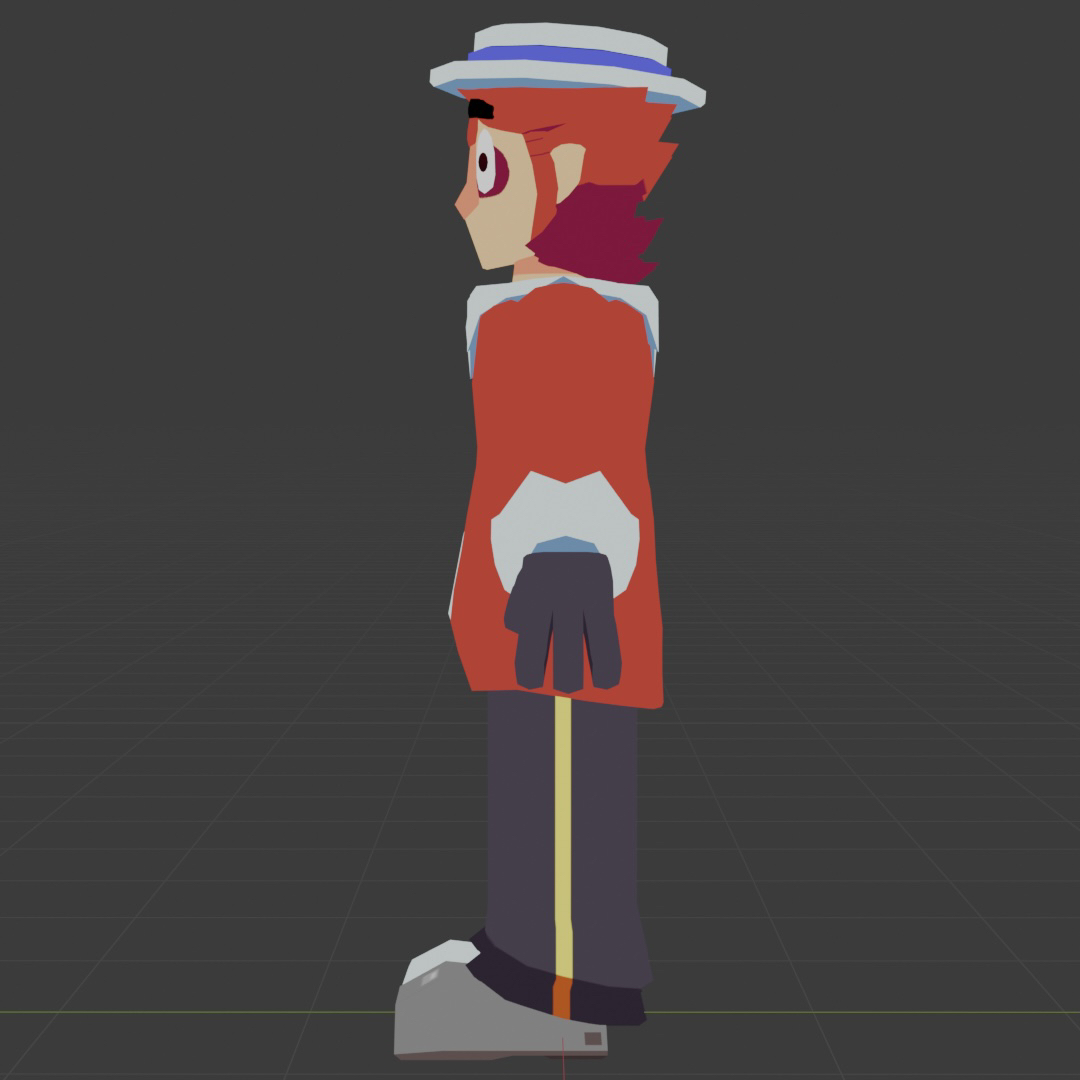
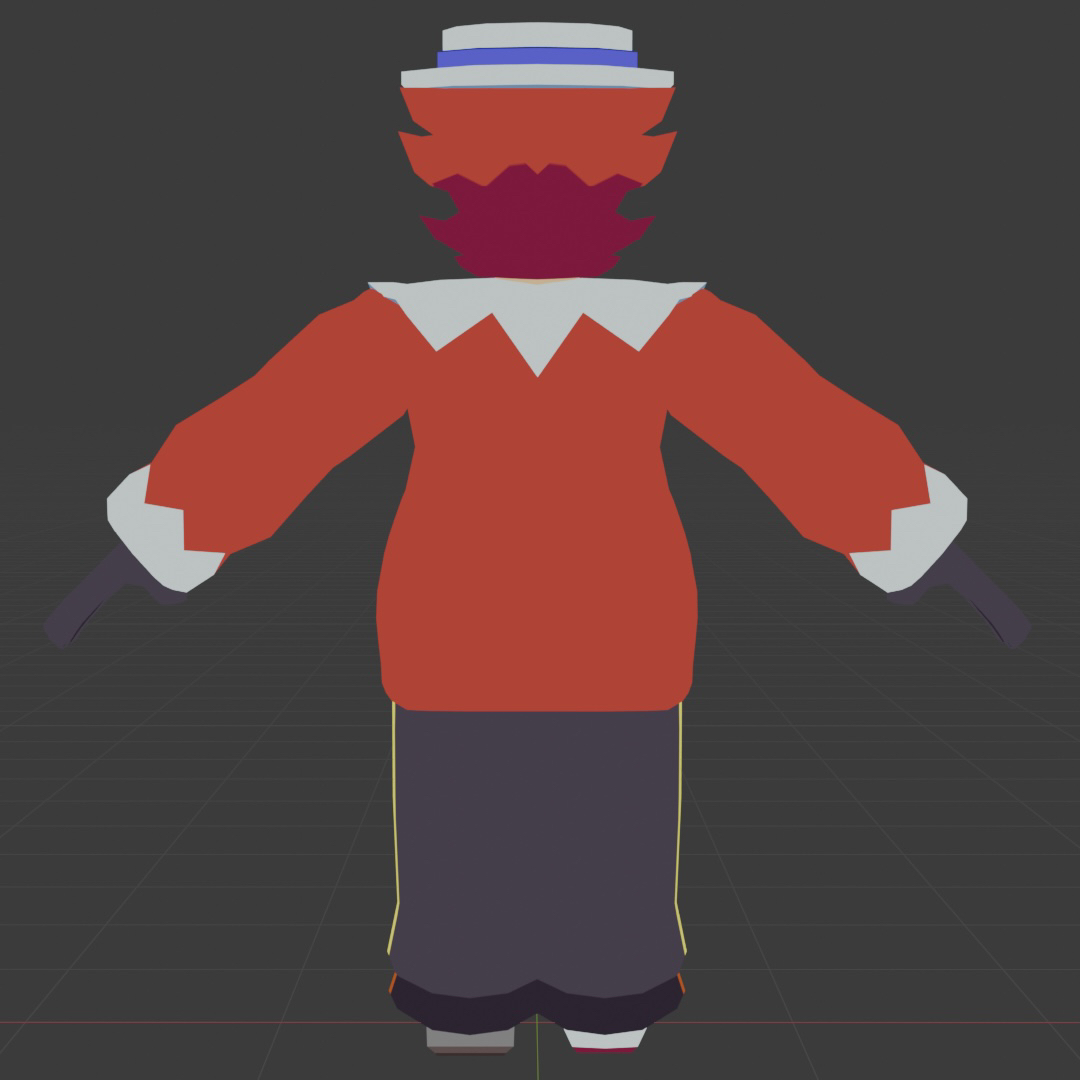
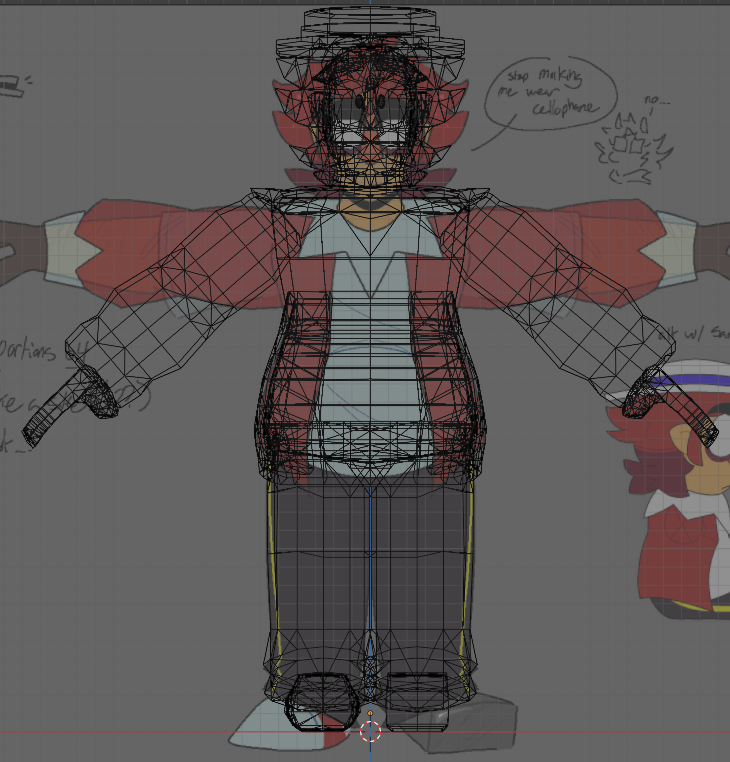
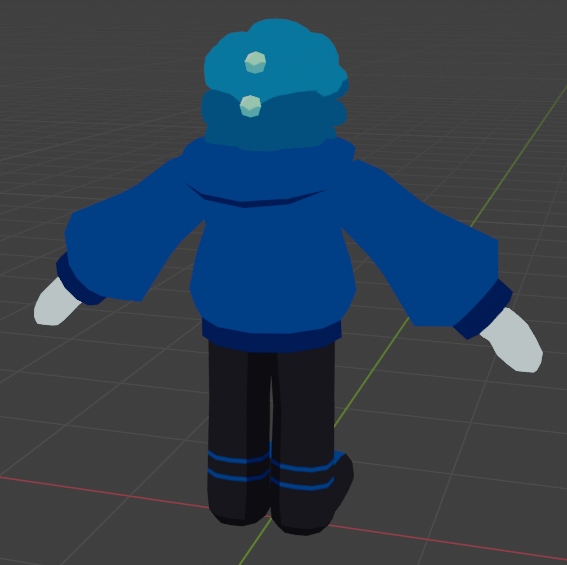
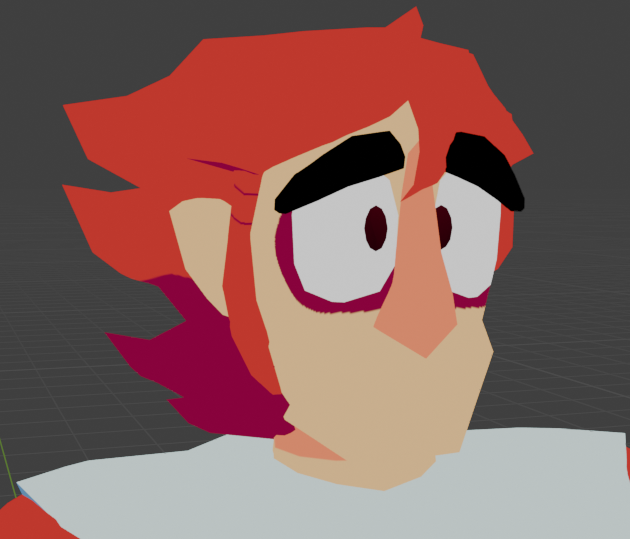
Based on Pent from Supermental. Currently unfinished (ie. missing mouth plane textures), but made with the intention of rigging for Unity engine (for use in VR!)
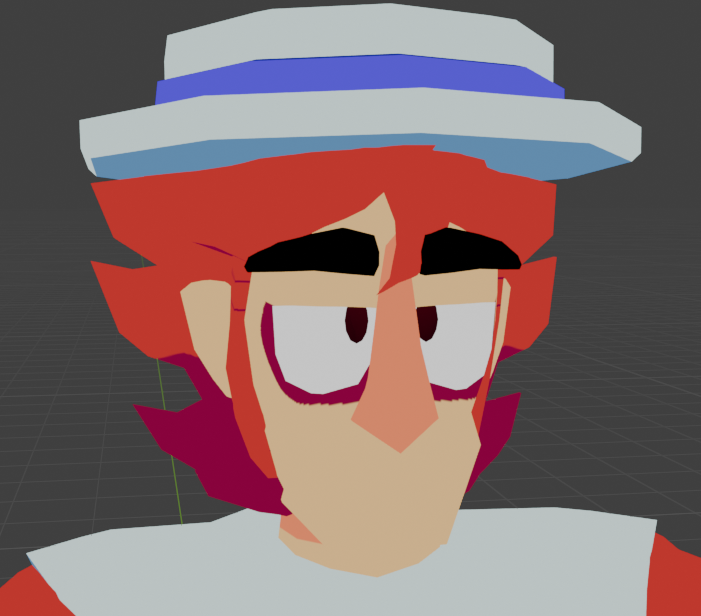
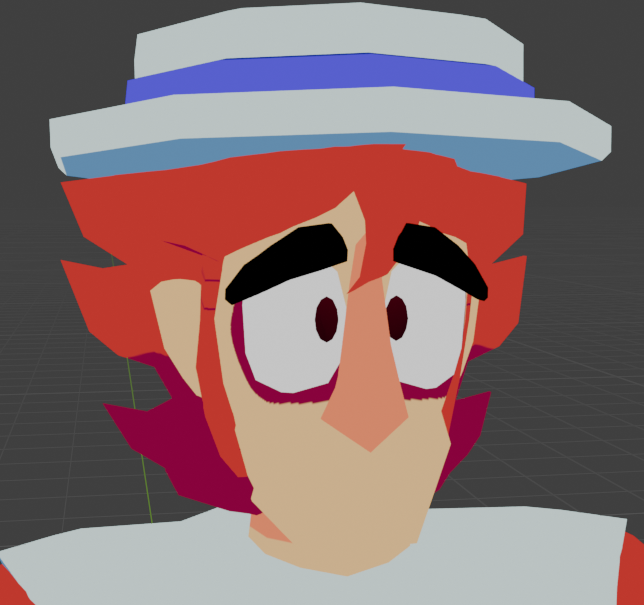
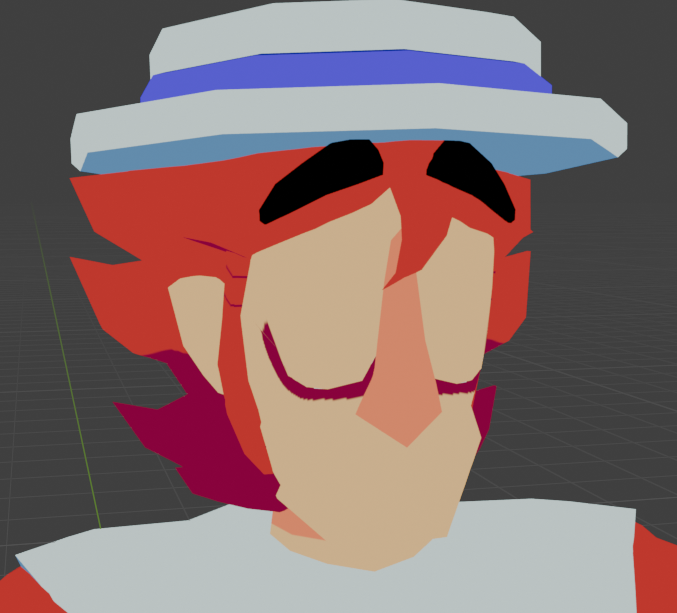
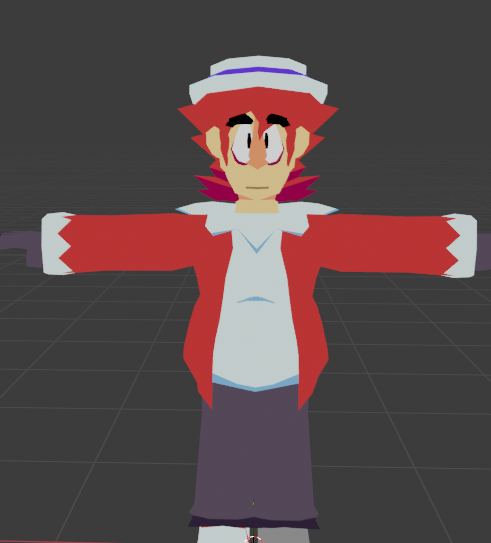
Model also currently has a few shape keys (deformation toggles) that allow for eyelid, eyebrow, and hat positioning (so thus the hat is removeable). I am unsure if I want to keep the hat toggle, though I do enjoy the idea for now and personally find it funny that the hat clips inside of the head for this to work.
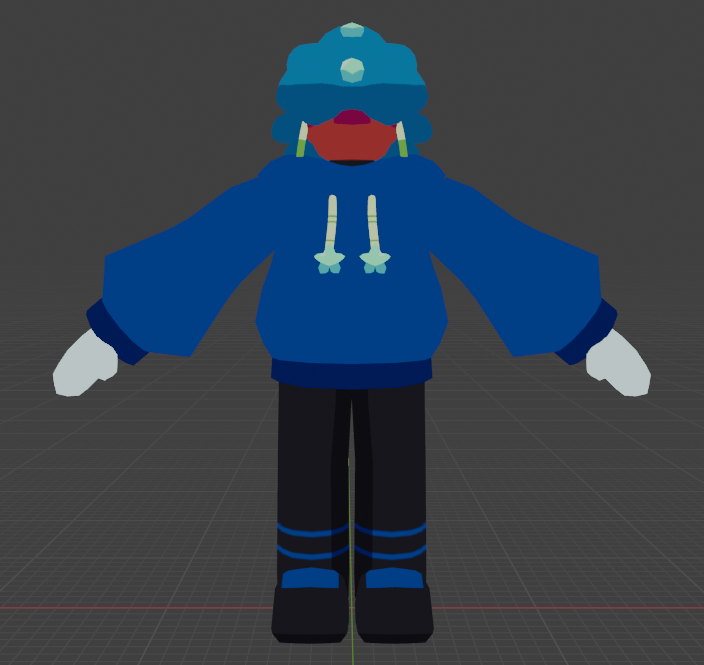
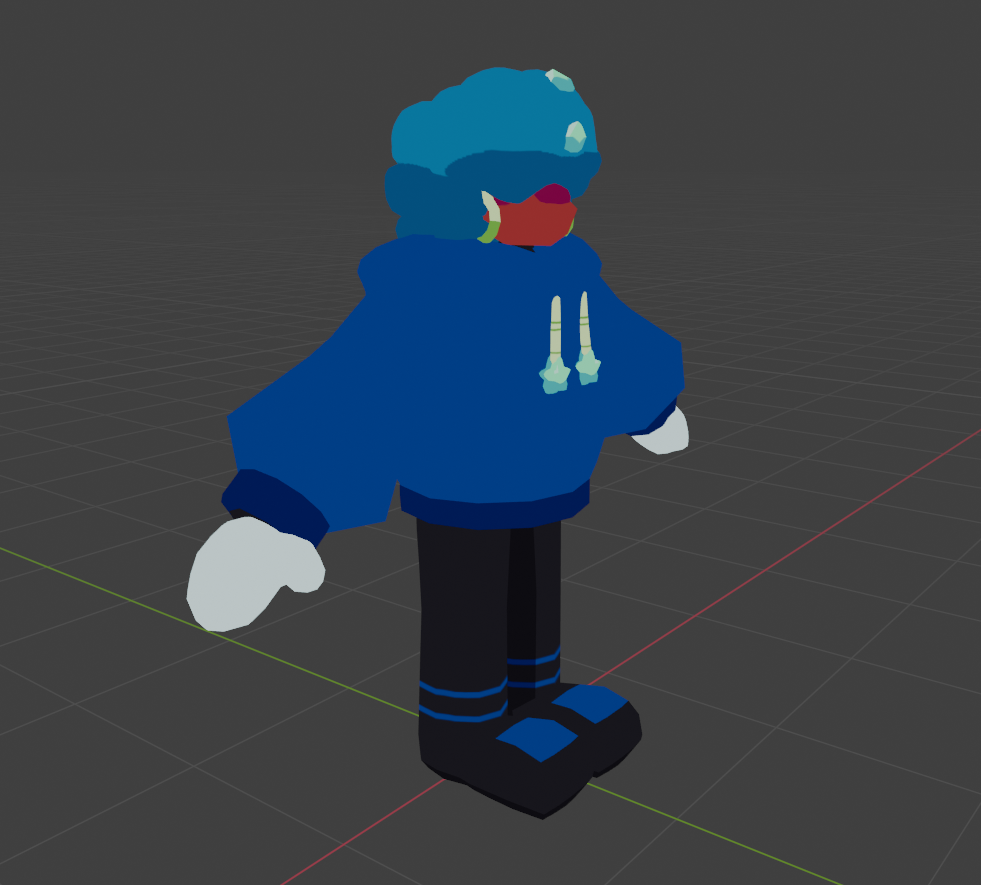
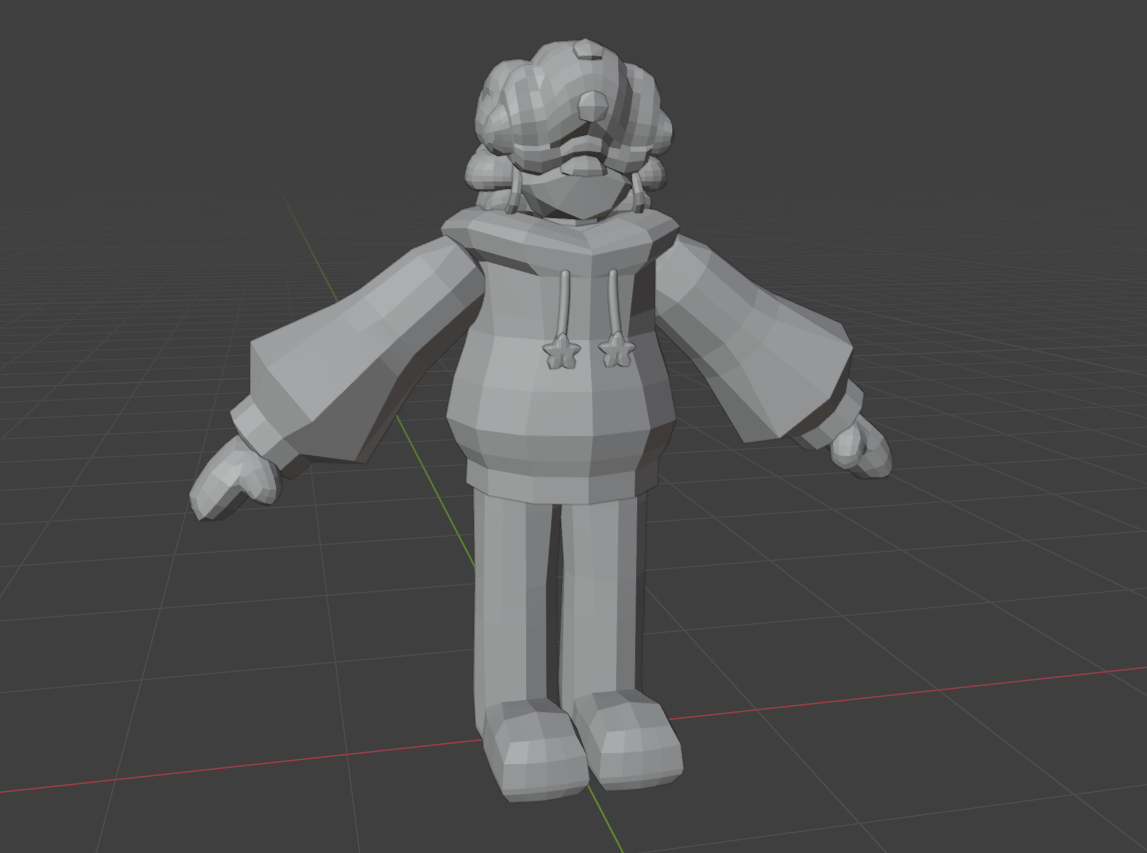
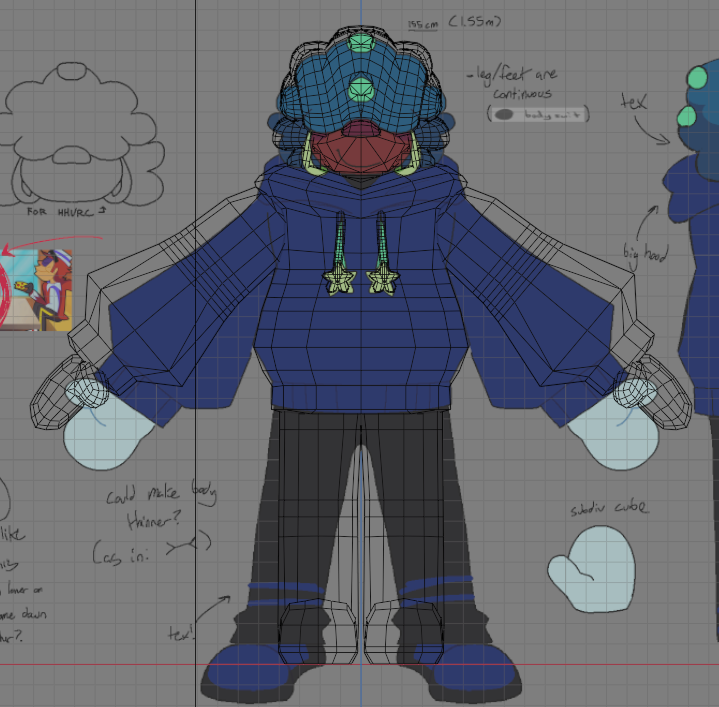
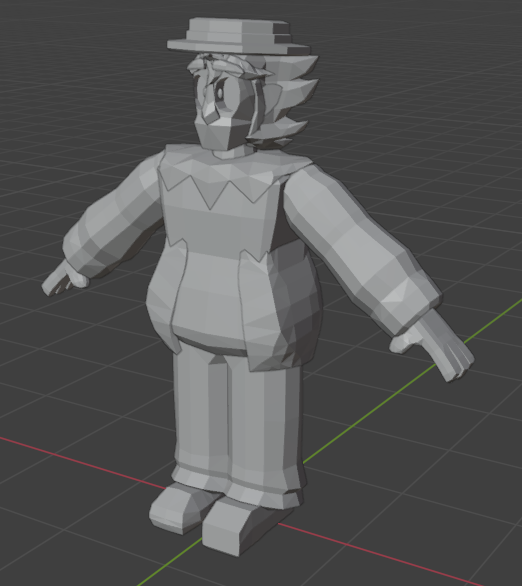
Pretty much almost my first rodeo with Blender character modeling, using what I learned from an older attempt around August 2025. There is a gallery of the older model below. Essentially, I had a hard time getting the topology correct the first time around, and the model was also improperly scaled (Blender uses a figure in meters). Though, the older model still had shape keys, and I wanted to preserve those. Fun fact, the newer model actually reuses the hat mesh from the old model, just scaled to fit!

This model (or rather, the older one) was what got me into Blender, actually. I'd been wanting to learn Blender for a while since it's more practical (and sometimes considered industry-standard) than what I was using to make models before, but like many other people, I found that Blender has a bit of an intense skill curve when used for the first time. After working on the newer version of the Pent model, I do strongly believe that the better way to internalize Blender is to use and reinforce the basic hotkeys (G for grab, XYZ for the axes, S for scale, ctrl+R for loop cuts, etc.) since otherwise the program can feel hard to navigate. I absolutely don't understand the program fully, but I do feel like I learn something new every time I open it, and I think that's good enough for my own merits!
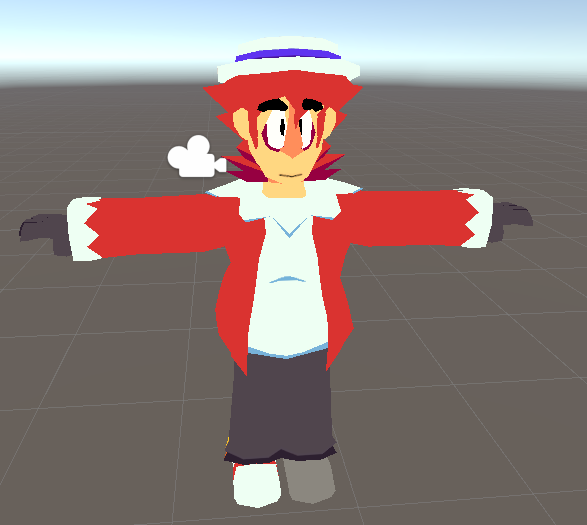
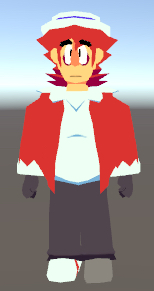
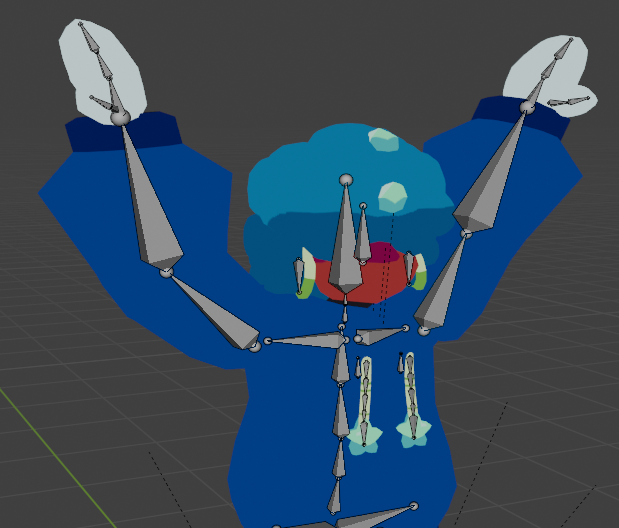
I also feel an interest in using Blender to make responsive models to be used in Unity as playerobjects; my knowledge of Unity is a bit more limited (see: coding tab) though, using the first model, I was able to confirm that I could move and position rigs in Unity to some degree. The results of this can be seen below.